Make This: Perfect PJ Pants Tutorial
 Our Perfect PJ Pants Kids Pattern is one of our most popular patterns. Since we typically sew these around this time of year, we thought it would be fun to do a little photo tutorial to help you sew along with our pattern. This will be especially helpful for those of you who are just getting into sewing. Note that most of the specifics are contained within the pattern and may not be repeated here.
First, gather your supplies.
Although the fit on these pants is very forgiving, it’s best to pre-wash your fabric to avoid any surprises. Also, notice that we are using 1″ elastic, instead of 3/4″ that it says in the pattern. This is okay for this pattern, but make sure to adjust for it later on when sewing the waistband casing.
Lay out the pattern pieces in the following configuration:
Before taping the pages together, trim the bottom and one of the inside edges of each piece. This is the most efficient method we’ve found.
Then, overlap the pages until the printing meets and tape together.
Repeat the trim and tape process with the remaining rows.

This is what the assembled pattern will look like.
Next, choose a size. Each different size has a different colored line, and all patterns use the left and top black lines. Cut the pattern out along the lines of the desired size. When we are making more than one size, we start with the biggest and work down to the smallest. That way, we only have to print and assemble the pattern once.
Fold the fabric and place the pattern piece on top. Before cutting, make sure that your fabric is wide enough to fit two pieces. Some of the new fabric we have gotten hasn’t been wide enough, so if that’s the case for you, you will have to fold the other direction. Just make sure to do some planning before making any cuts.
Cut out two leg pieces. They will be identical.
Open up each leg piece and line them up with each other, right sides of the fabric together.
Sew the two pieces together along the top crotch curves. We used a serger to show the seams better, but you can use a regular straight stitch on your sewing machine.
Now, open the top of the pants and match the seams you just sewed together. Flatten the pants out with the legs matching, like the photo below.
Sew up one leg and down the other, all in one seam.
Now these are looking like pants! All that’s left is the waistband and hems on the legs. Starting on the waistband, fold down 1/4″ and iron all the way around.
Then, fold down again 1″ and iron. (If you are using 1″ elastic, fold down 1.25″.)
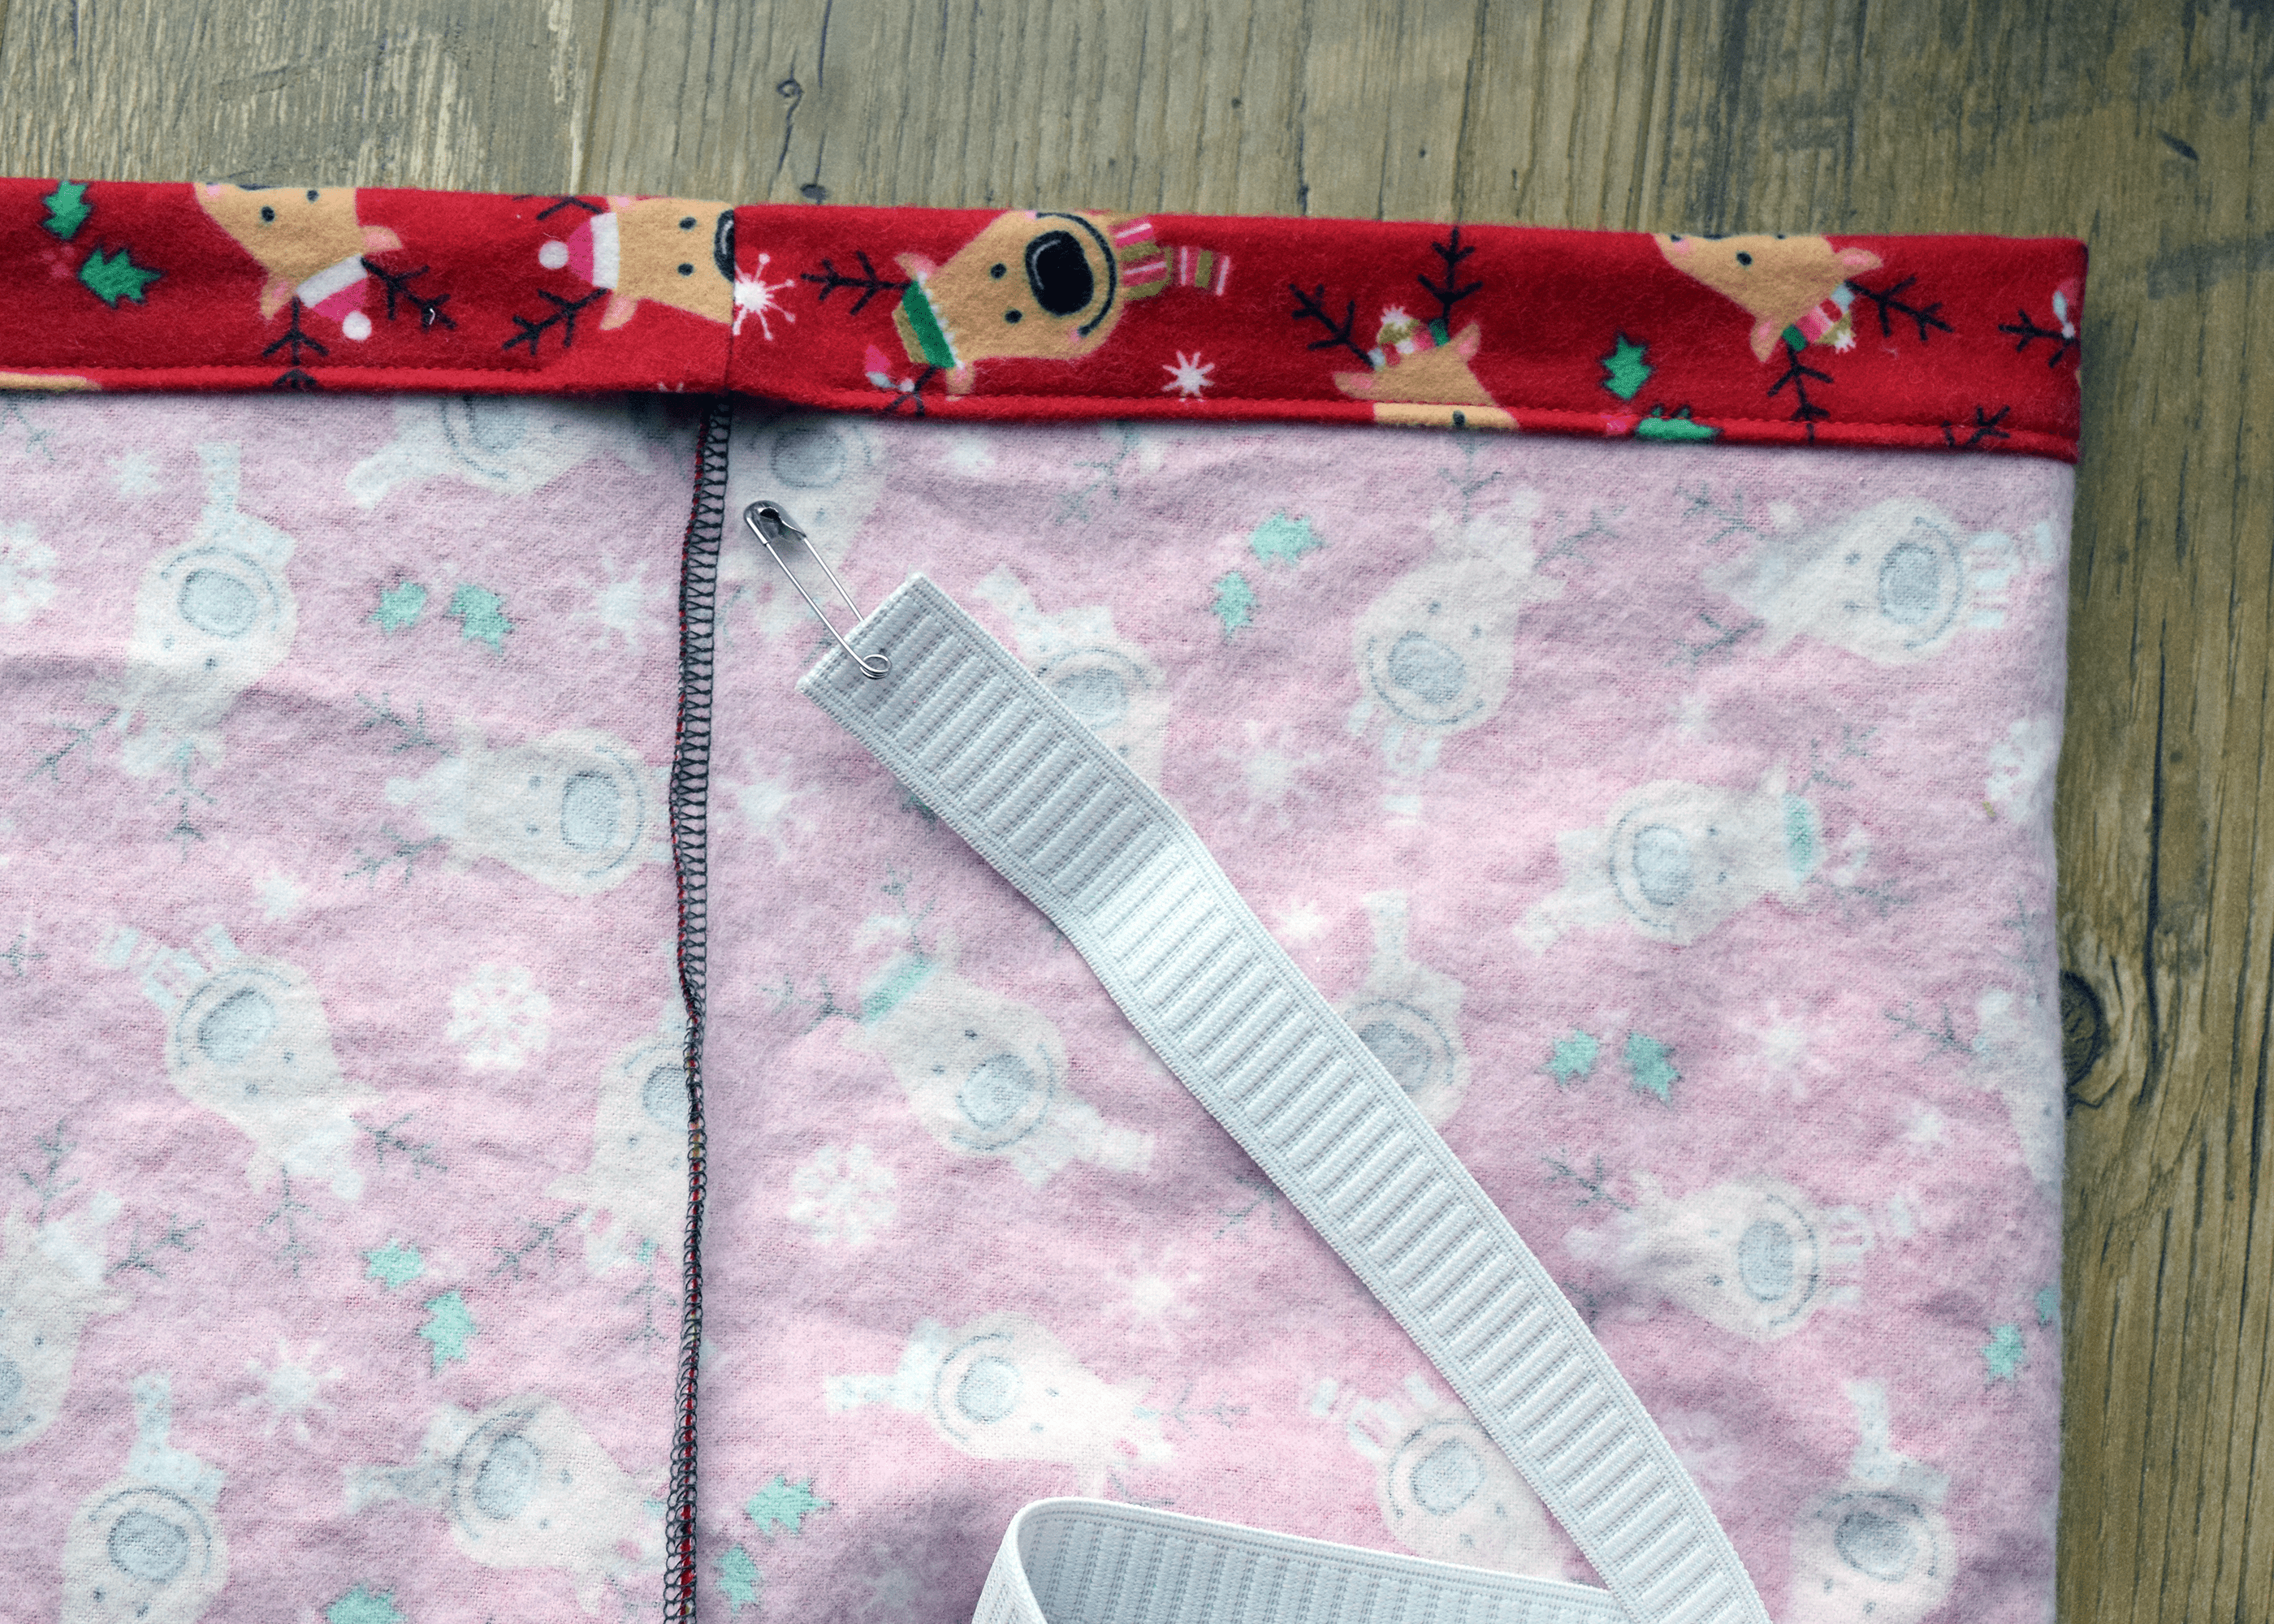
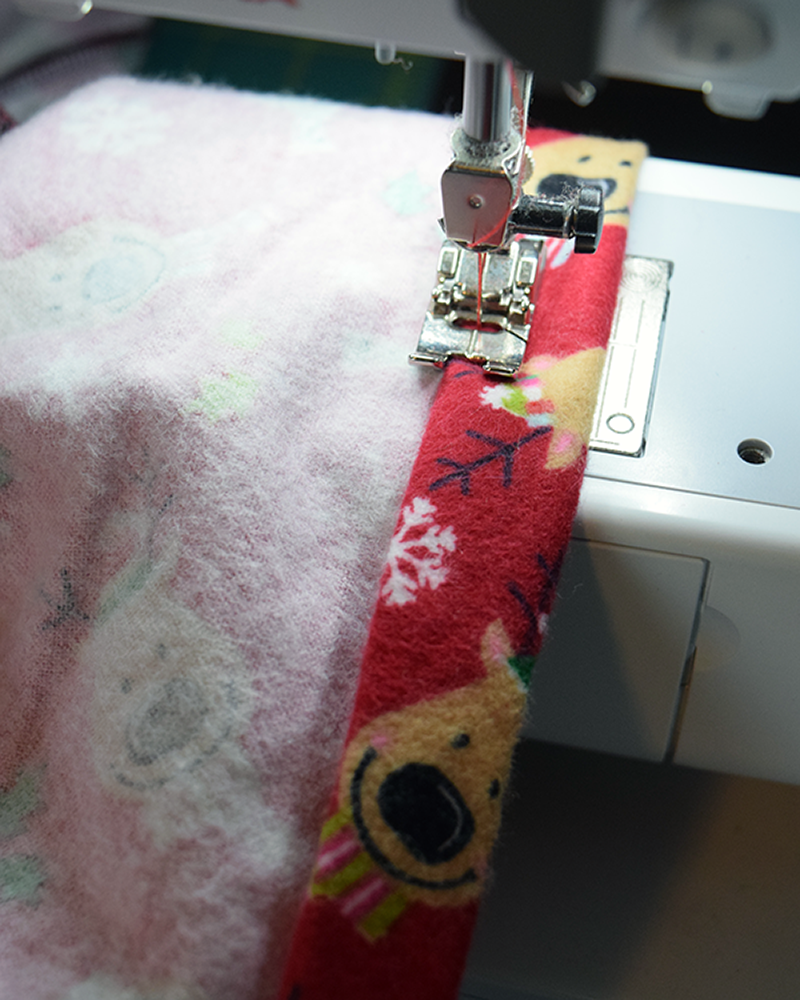
Sew the waistband casing, leaving an opening to thread the elastic.
Attach a safety pin to one end of the elastic and get started threading that elastic around the inside of the waistband.

Sew the ends of the elastic together, making sure it’s very secure.
Pull the waistband so that the elastic goes into the casing, and sew the opening shut.
Now, repeat the same steps of the waistband for each leg hem, except just sew all the way around instead of leaving an opening.
This is what the pants will look like before you turn them inside out.
That’s it! If you’re gifting these, we suggest giving them a good pressing with the iron to make them look just right.

Perfect! These kid’s pants are great for holiday movie nights and lounging around the house on a cold winter’s day. Now to make three more pairs…


Thank you for this free tutorial. I love the photo showing all the kids in different sizes 🙂
I real glad to find this website on bing, just what I was looking for : D too saved to favorites .
Awesome tutorial. Simple and to the point.😌
Hi there!
This tutorial was GREAT! The pictures were super helpful for a novice like me! Quick question, how do you know which side is the front/back?
Thanks!!
Hi Asha, these pants are actually completely reversible front to back.
Do you have this available in adult sizes?
Nope, just kids.
Wish you had this pattern for adults😔
Sorry, we just don’t do clothing patterns.
How do I use my own PayPal account to pay for pattern? Thanks
Just click on the PayPal button at checkout. It will have you log into your account.